Well, it's almost done. All the hard stuff that I can do myself is complete. Now it's just a matter of what to choose for the countertop. Do we go with tile or granite? That is the question! I'd say the whole process from start to finish took less than 7 days. Here's how it happened:
 |
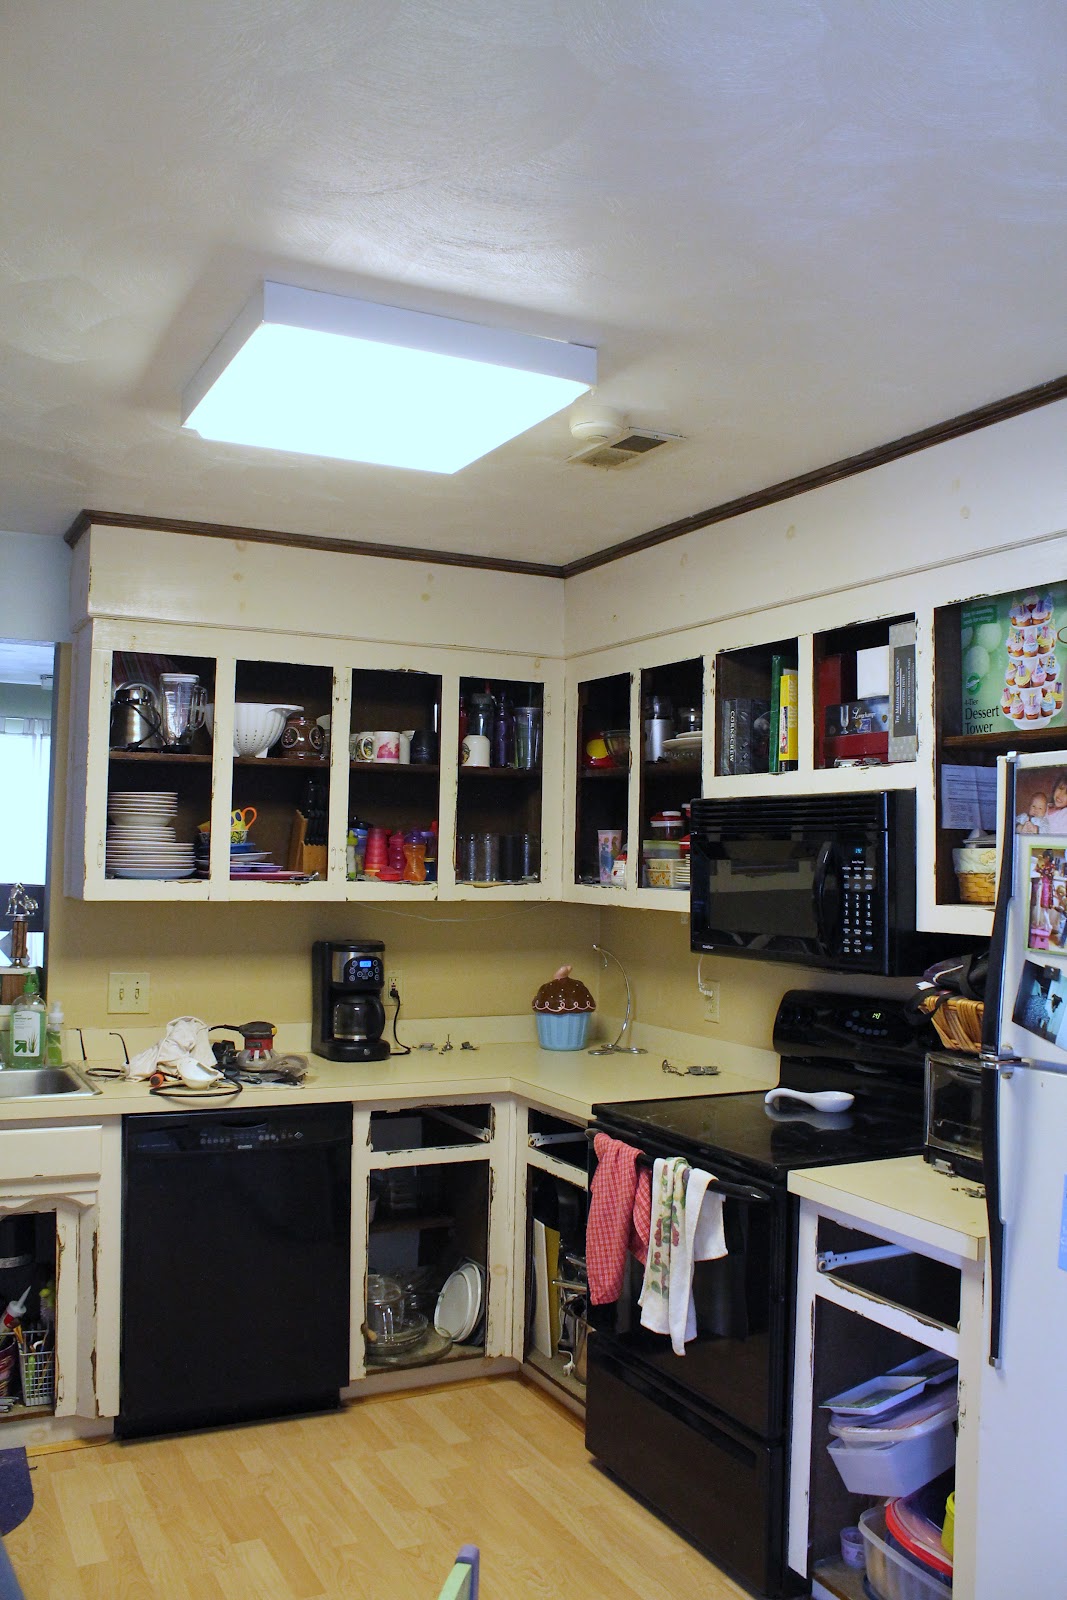
| Here's a before shot. With the cabinets and hardware removed, sanding has begun. |
 |
| I didn't remove the dishes or put up a cover to keep the dust out. This was my biggest pain. Nothing wrong with rinsing dishes and wiping up dust. |
 |
| Another before shot, notice the wood color trim along the top of the cabinets, blech! The vanilla colored cabinets and beige walls weren't bad, but boy does the new color look great! |
 |
| The growth wall for the kids. I had to transfer all their notches to a piece of scrap wood from my bathroom redo. This was the saddest for me. |
 |
| We now have a growth stick with the kid's measurements color coded |
 |
| Can you tell what's new and what's old? Obviously the drawers are the old paint color. |
 |
| Almost complete! You can see how yellow and dingy the counter tops look against the fresh white paint. |
 |
| Hardware can get pricey so I sanded all of it and used Rustoleum spray paint. |
 |
| I put the screws through a piece of card board to stand them up so they could be sprayed. |
 |
| Make sure you put ALL the hardware and screws in the same spot. The last cabinet is missing 3 screws. |
 |
| After shot, doesn't it look beautiful? Now, time for a new countertop! | | |
|
|
Completion time: about 5 days. Lots of sanding and spray painting. Cost of the project was about $50 for paint, paint supplies and sand paper. What did I do with my children throughout this project? They got to keep themselves busy with toys, coloring, dancing and some tv. They were great supporters and told me several times in passing that I was doing a great job painting. Oh, and if you're wondering what paint colors I used: cabinets are Glidden's 'white on white' and the wall is Glidden's 'dove white.'